
Online store
How to create photos for an online store
Quality photos build trust when customers can’t try the product. Practical tips on lighting, background, sharpness, colour, image size and editing.

The visual presentation of products plays a key role in catching customers’ attention. Because shoppers can’t physically try products online, quality photos are essential for trust and sales.
Here are practical tips on how to create quality product photos that make your online store more attractive and increase sales.
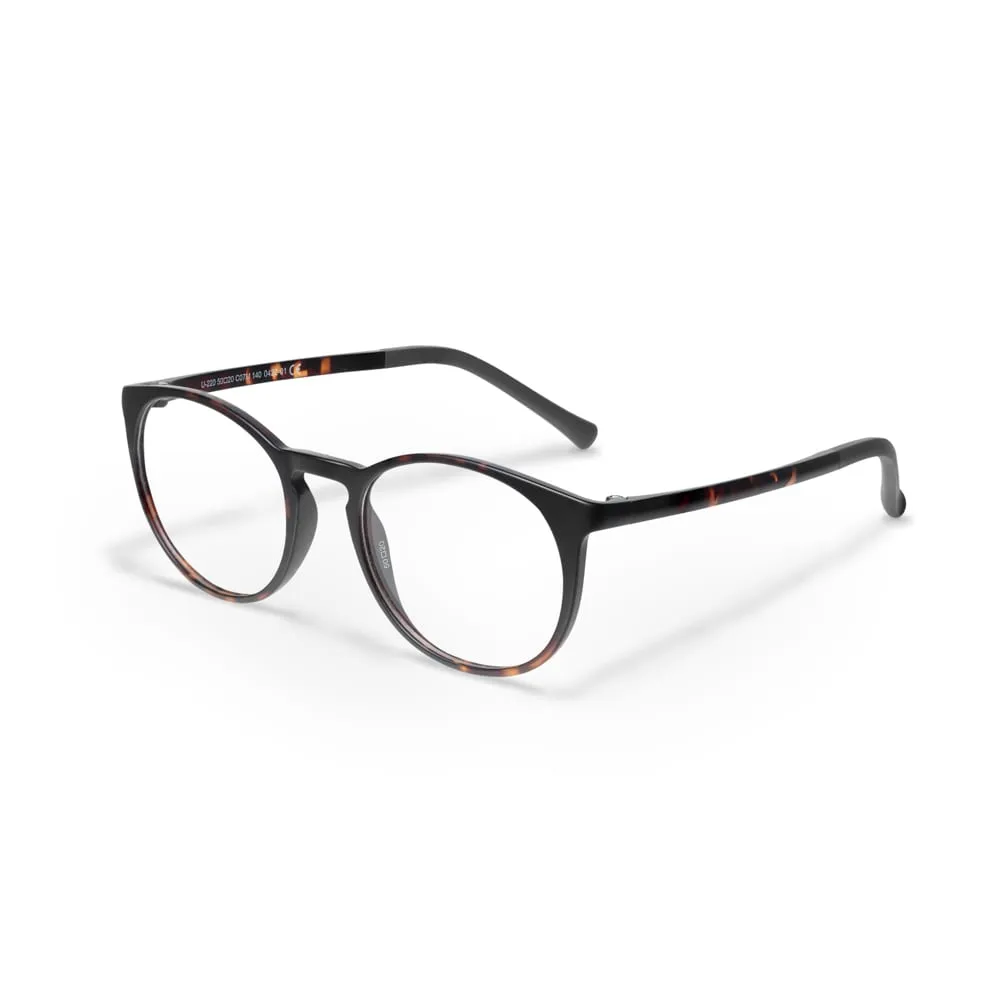
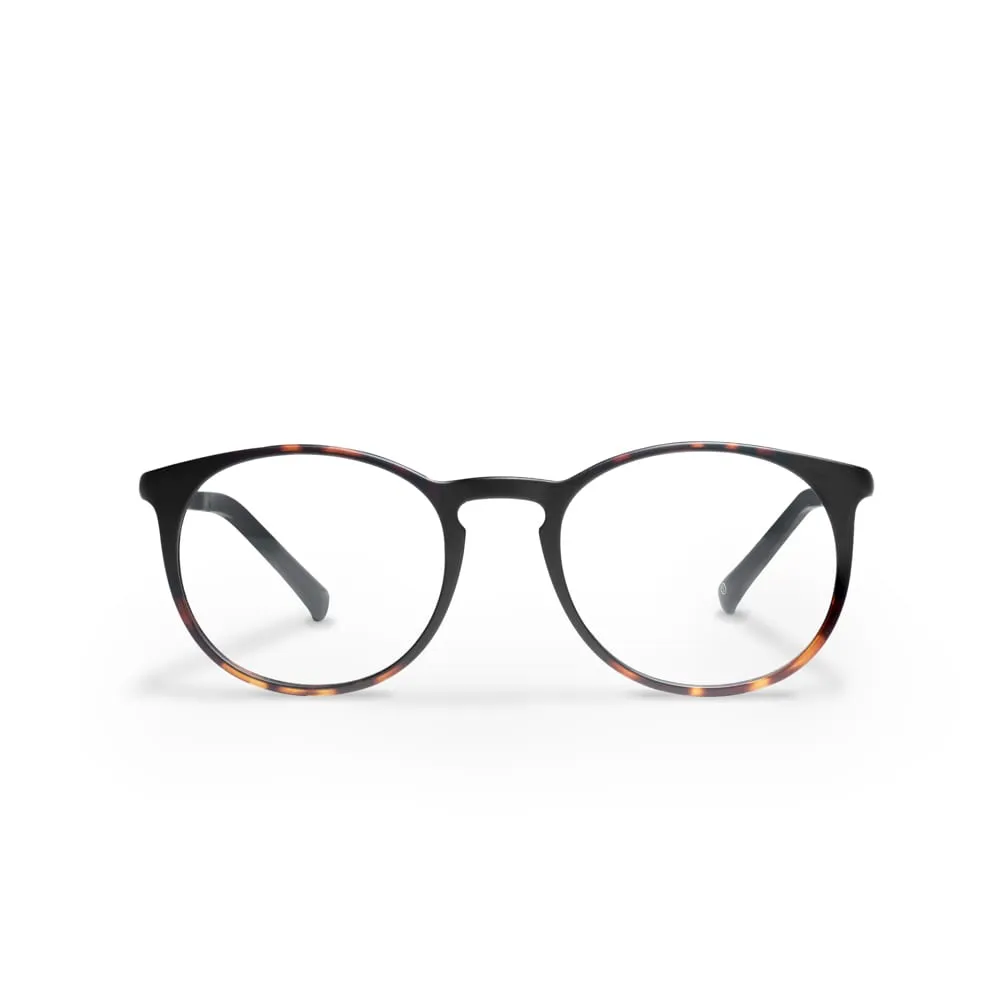
Preparation and lighting
Start by preparing the products and the space where you will shoot. Use natural or artificial light to get soft, even lighting.
The simplest and most common setup is a light above the product at a 45-degree angle (from the left or right) to avoid harsh shadows. If the shadows are still too strong, place a white reflector on the opposite side of the product to soften them.
To begin with, avoid setups with several lights or flashes – 90 % of photos can be made with a single light source.
Choose a suitable background
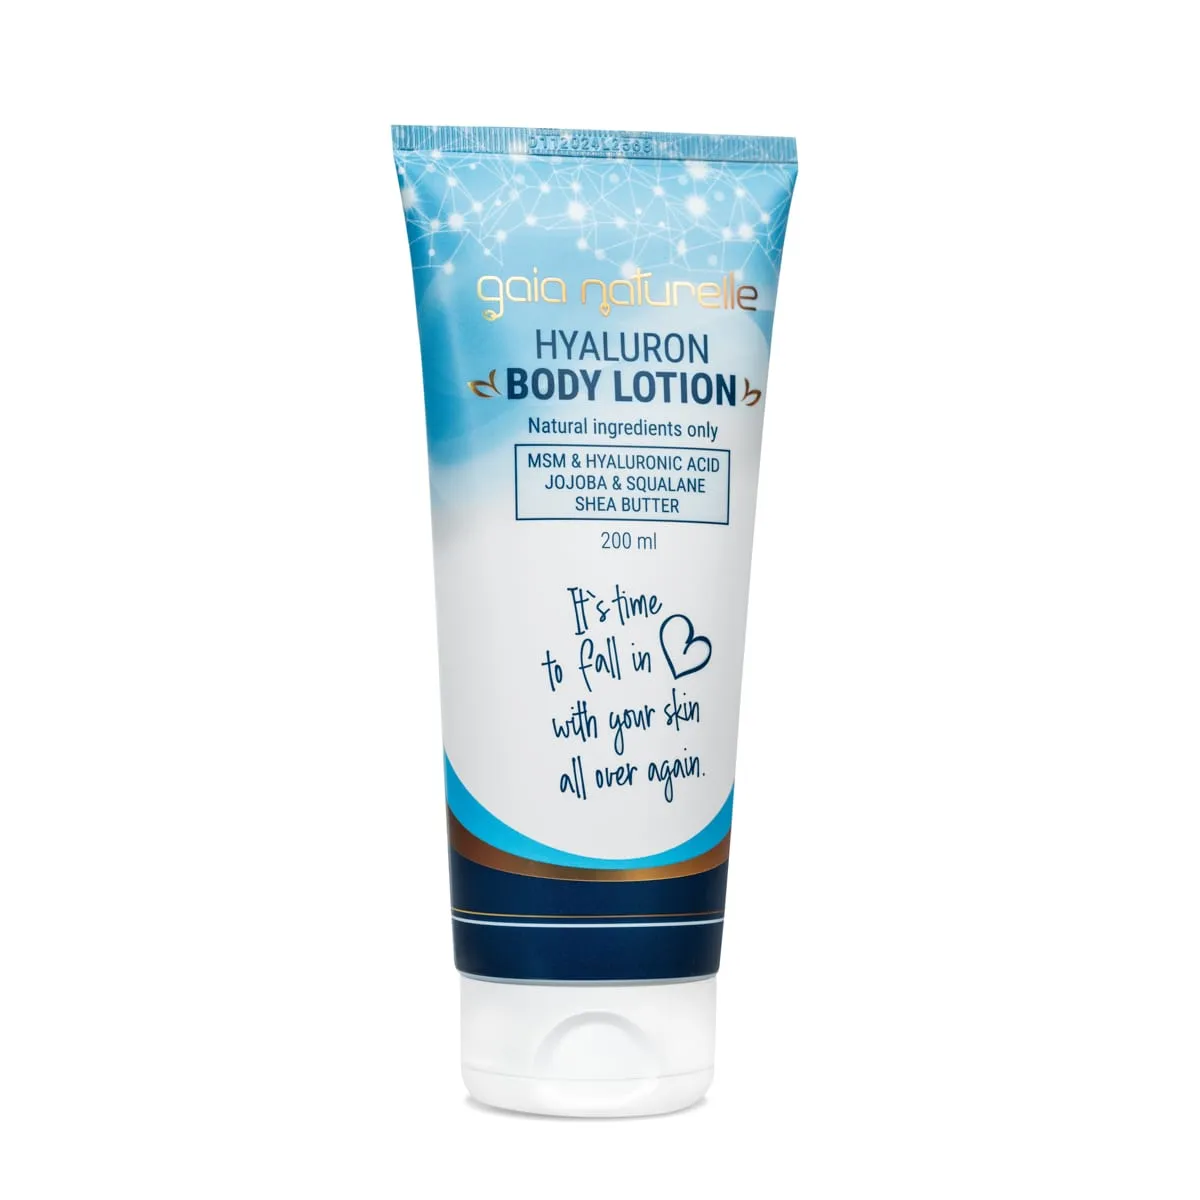
For a neutral background, use a white or grey paper studio backdrop, or a large sheet of thick paper. The product stands out and there are no distracting elements behind it.
Shoot from different angles
Show the product from different angles and perspectives. Include shots that highlight details and how the product is used, so customers can see its practical value.

Getting sharpness right
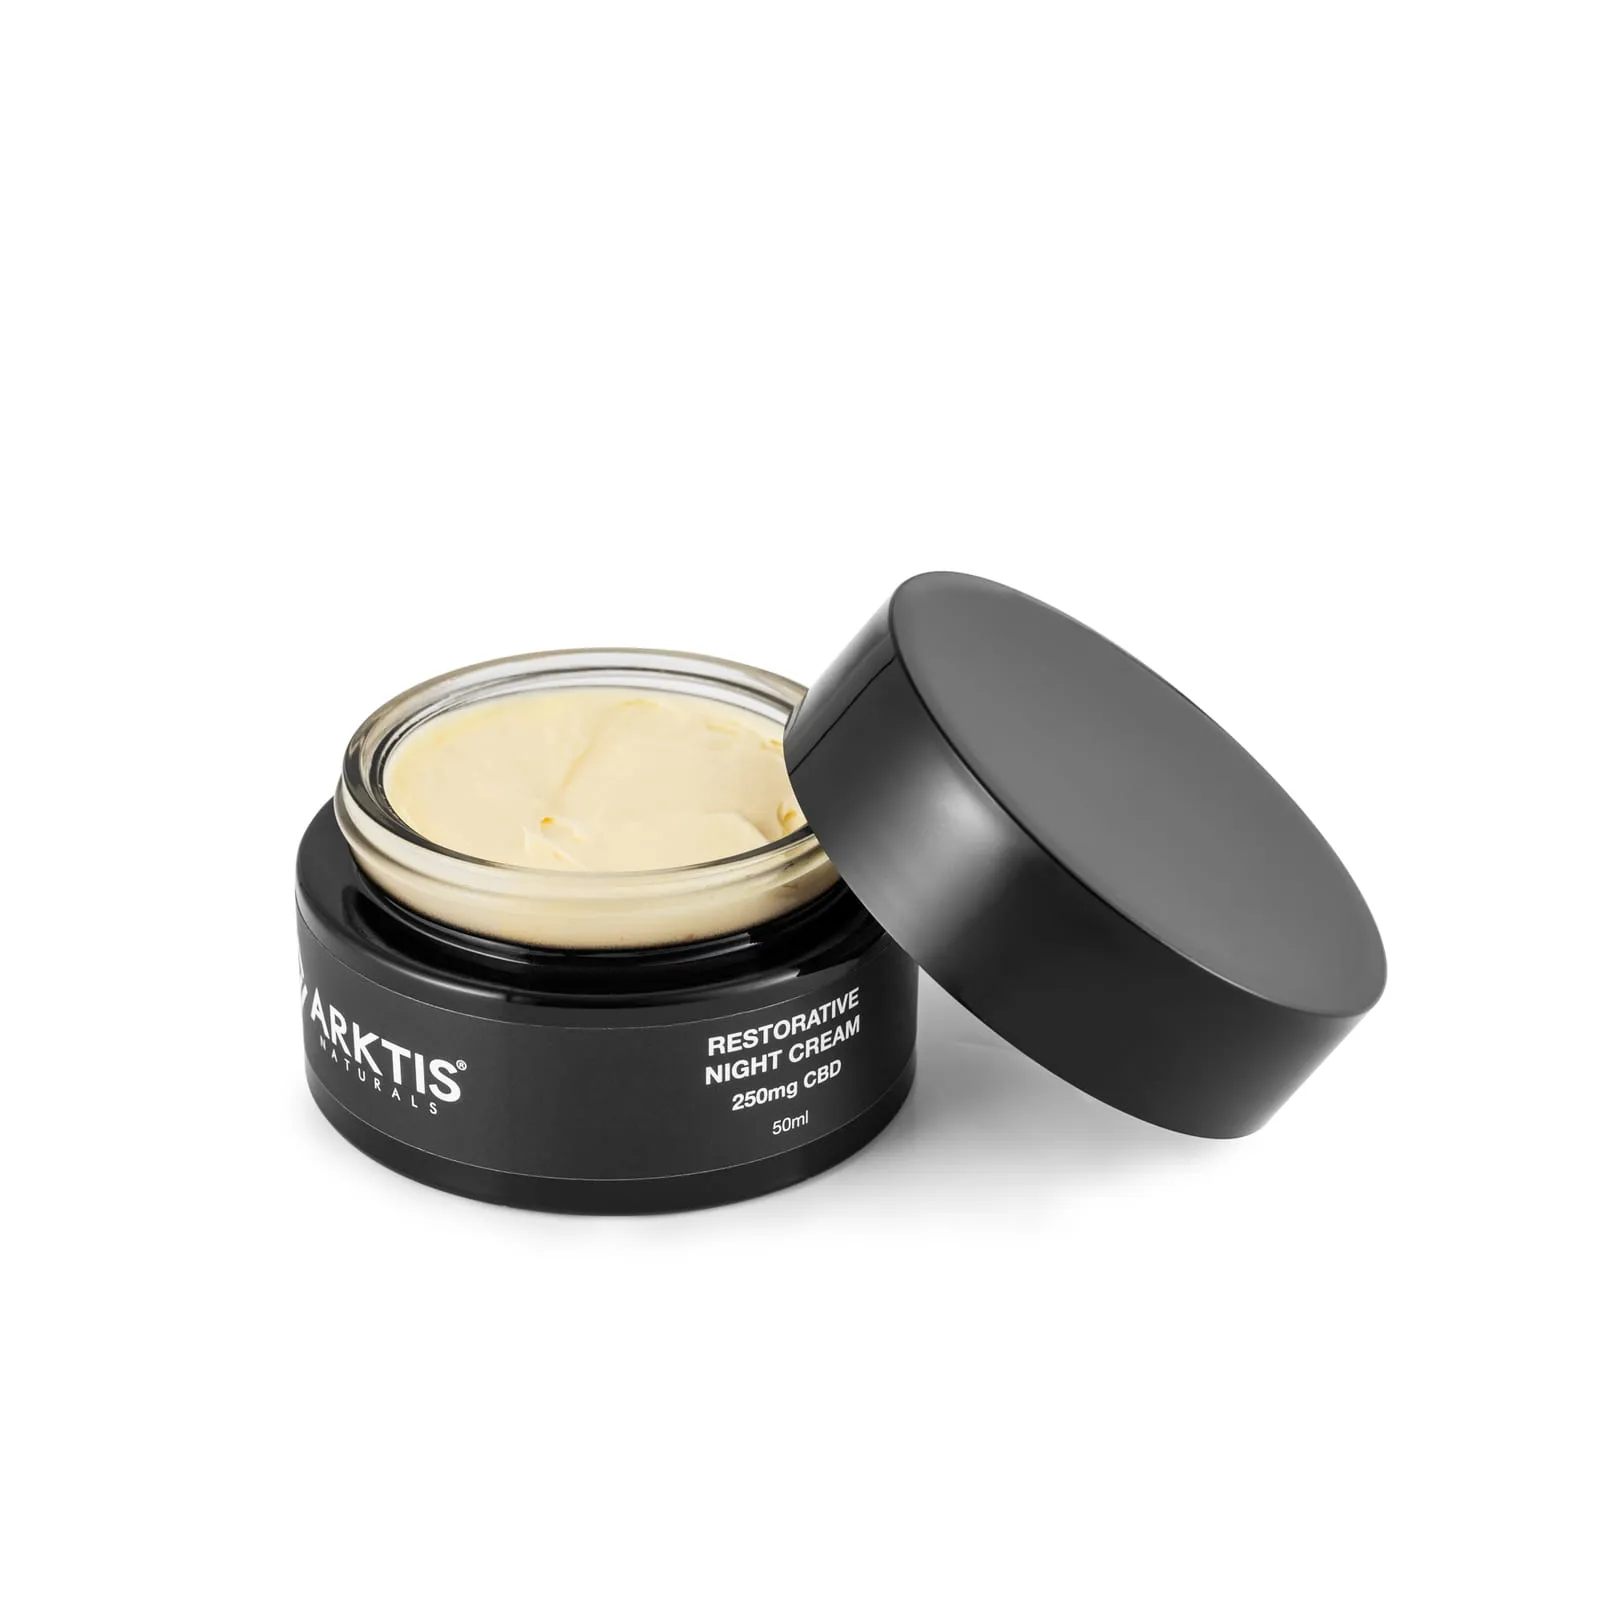
Focus on the main part of the product. Use a smaller aperture (a higher f-number) for greater depth of field. The right aperture is where your lens is sharpest – usually between f/8 and f/11 – because we want the whole product in focus.
If you are comfortable with your camera and editing, try focus stacking: in editing (Photoshop) you merge several photos of the product focused at different points into one. Neither the camera nor the product may move between shots.
Quality equipment
If you can, invest in a good camera and lens. Good equipment delivers sharp images with rich detail. If you shoot on a smartphone, choose one with advanced camera features and turn on HDR.
Accurate colours
For accurate product colours, make sure your colours are calibrated and your white balance is correct. This is essential for realistic colours and consistent photos.
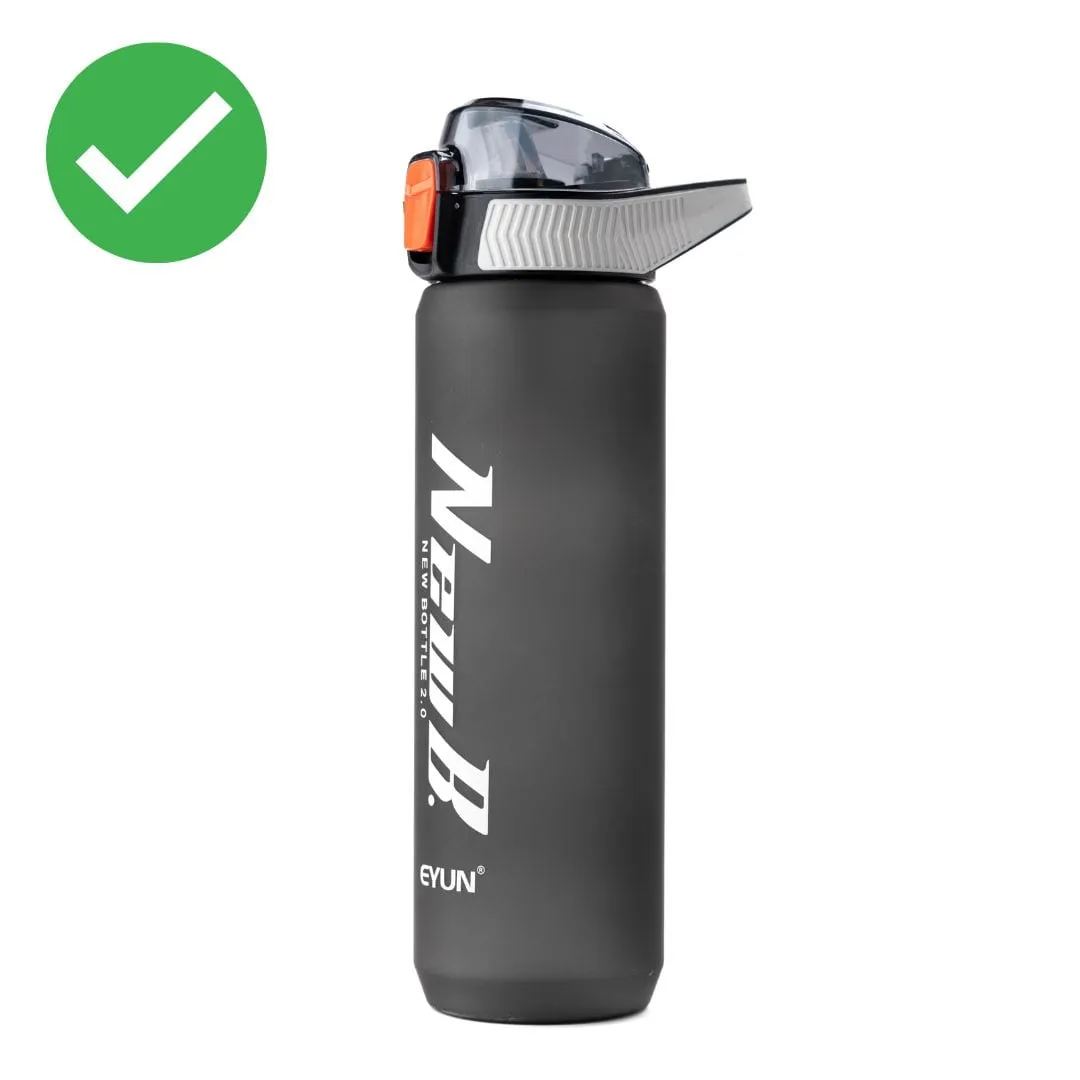
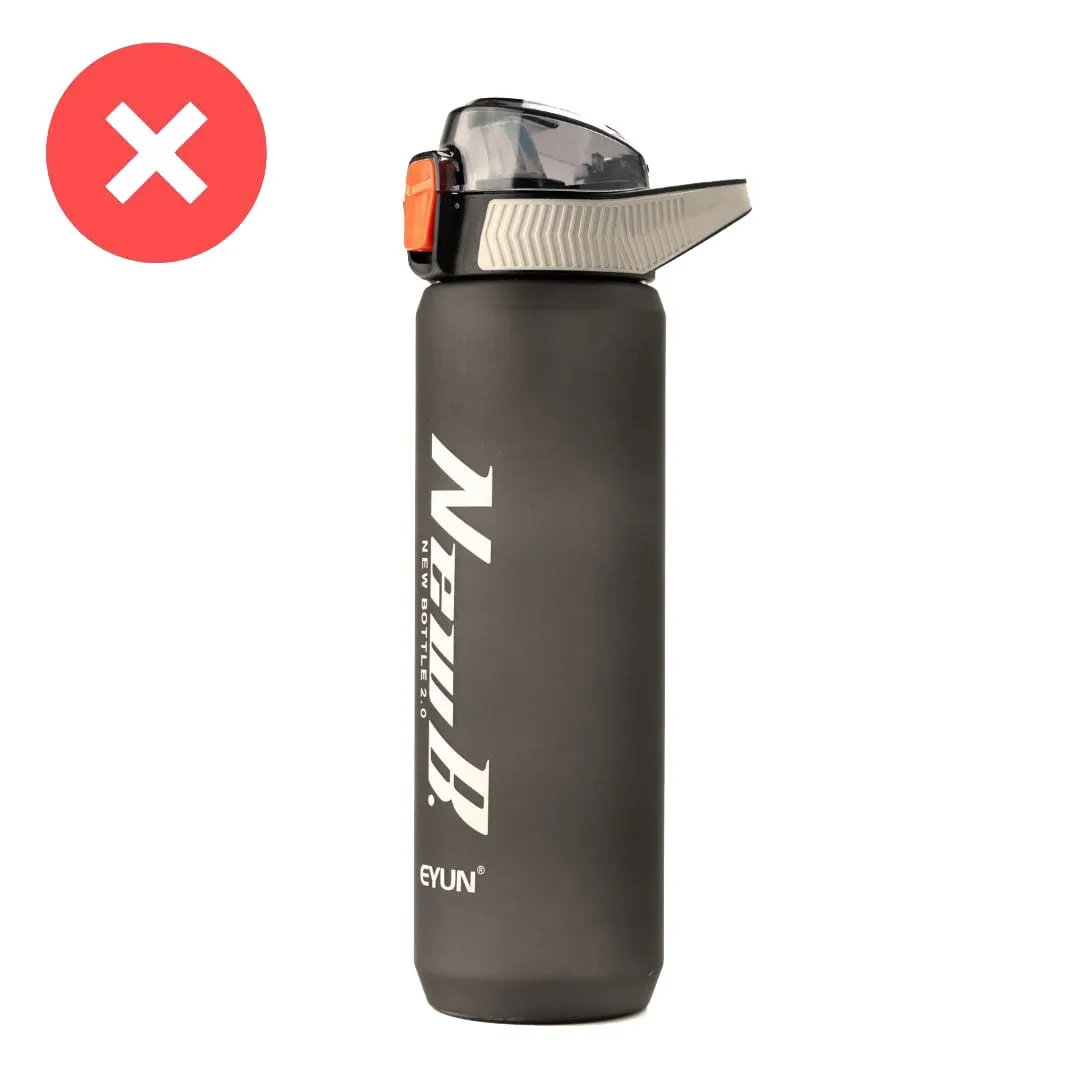
A minimalist approach
Less is more. Focus on the main product and remove distractions. A minimalist approach highlights what matters and draws the eye – essential for online store photos.
A series of photos
For a complete view of the product, take several photos from different perspectives. Each shot should tell the customer something new about the product.
Show it in use
Show how the product improves customers’ lives. Use models or create scenes that show the product in use and its benefits – in the studio or in the setting where the product is normally used.
Size and resolution
Shoot at the highest resolution to preserve detail. Then adjust the size in editing to match your store’s requirements. The most common choice is square photos with a 1:1 ratio at 1200 × 1200 px.
Proper editing
Use retouching tools to remove minor imperfections and improve the look of the product. Don’t overdo it – keep it looking natural. Adobe Photoshop is the most common tool, as it gives you full control over the image.
Follow your platform’s guidelines
Follow the guidelines and requirements of your online store or platform (e.g. Amazon). Your photos will be easier to upload and will display without problems.
Summary
Quality product photos are key to winning new customers and increasing online sales. With the right techniques you stand out from the competition and help customers understand the product before they buy.
Photos are the visual bridge between product and customer, so take the time to create them and improve your customers’ shopping experience.


