
Basics
Product photography basics
Techniques that show a product in its best light: preparation, lighting, tripod, camera and lens choice, composition, background and editing.

Product photography has a strong influence on first impressions. The key is choosing the right technical approach so you can present the product in its best light. Whether it is for an online store, a catalogue or marketing material, the basics of product photography are essential for professional, attractive photos.
Read on for the most important basics of good product photography.

Preparing the products
A quality photo starts with careful preparation. Make sure the products are flawless, clean and in the best possible condition. Remove stains, scratches and dust – it will save you a lot of time in editing. Also think about props that could help present the product and its features.
Lighting
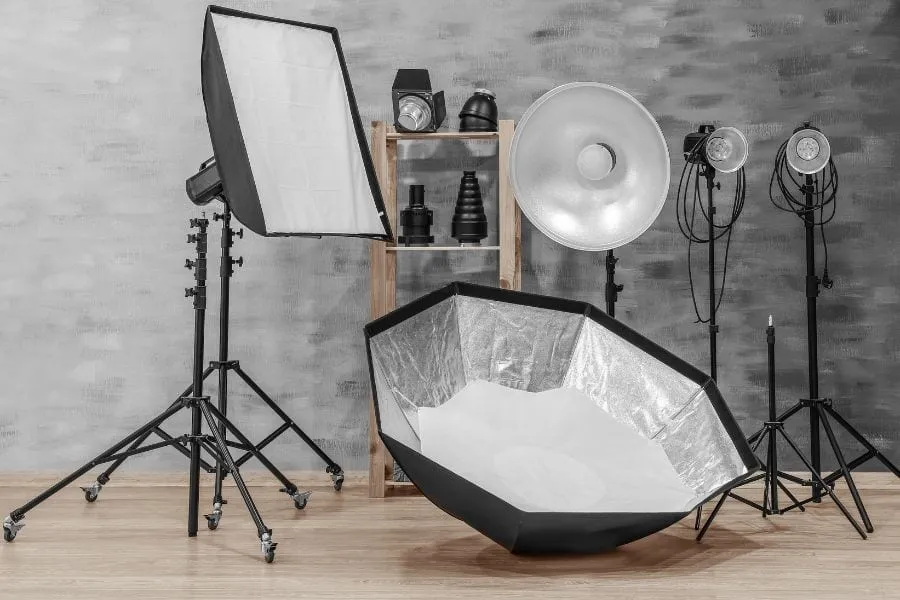
Lighting is key to good product photography. If you have no experience with artificial light, natural light is often the best choice because it is soft and even. Shooting by a window or outdoors on an overcast day gives natural, attractive light. With artificial light, make sure it is evenly distributed and does not create harsh shadows.
Use a tripod
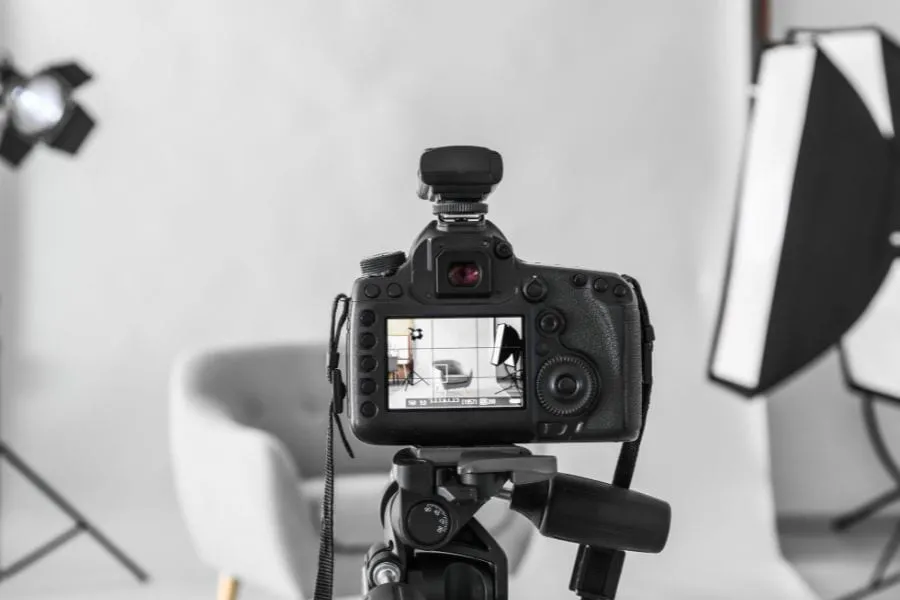
A stable camera is essential for sharp photos. A tripod lets you set up the frame precisely and prevents camera shake. When photographing products, even a small camera movement can cost you sharpness or cause inconsistencies between photos.
Choosing a camera and lens
You don’t necessarily need professional equipment for good product photos, but your choice of camera and lens does affect image quality. A macro lens is great for fine details, while a lens around 50 mm captures the whole product in one shot.
Choose a camera with enough resolution to preserve detail. Be careful with wide-angle lenses, as they distort the product so it no longer looks like the real thing. For the best results I recommend a full-frame camera with at least 24 megapixels and a lens with a focal length of 50–105 mm.
Composition
Composition determines how the product is shown in the photo. Follow the rule of thirds: divide the frame into nine equal parts and place the key elements of the product where the lines intersect. Try different angles to create dynamic, interesting compositions.
Choosing a background
The background has a big impact on the final image. White is the most common choice – it makes the product stand out and is easy to cut out for websites or catalogues. You can also experiment with other colours, textures or patterns. For the best results I recommend paper studio backdrops.
Highlight the details
Details make a product unique. Use a macro lens or zoom to capture fine textures, patterns and features. This lets customers see the product up close, which builds trust.
Editing
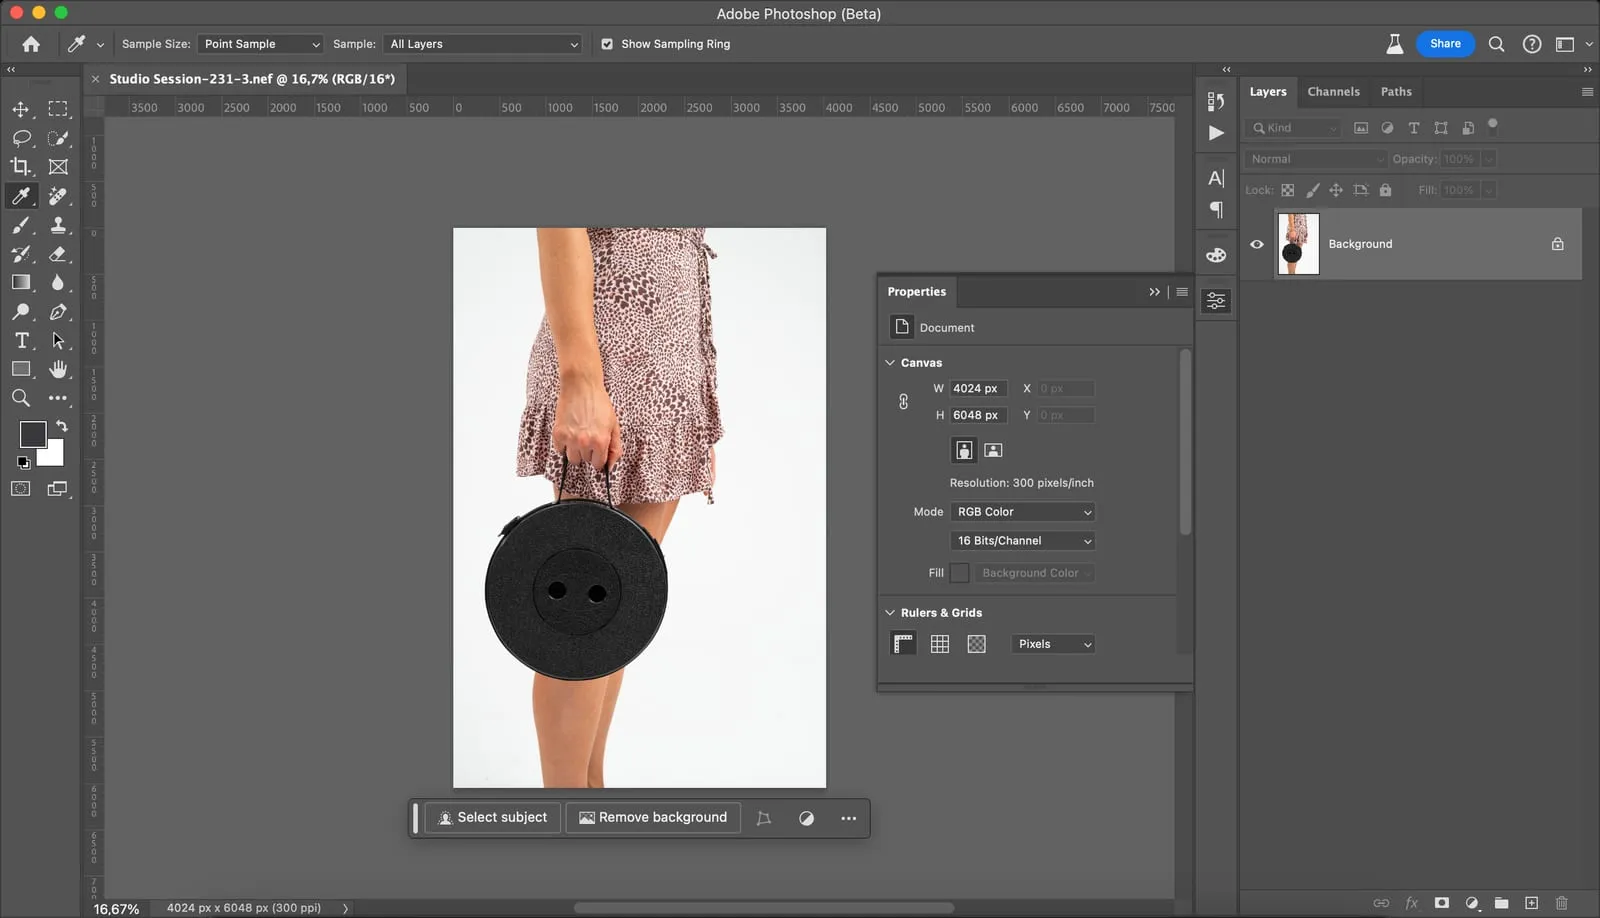
Editing is a key step in product photography. Software such as Adobe Photoshop lets you adjust exposure, contrast, colour and sharpness, and make corrections such as removing blemishes or adjusting the background. Keep it balanced so the photos still look natural and realistic.
Consistency and style
Your photos should match your brand’s style. Consistency is key to a professional look, so stick to similar lighting, composition and editing techniques. Your products will then be recognisable and presented uniformly.
Checking on different screens
Colours and details look different on different screens. Check your photos on several devices before publishing and under different lighting conditions. That way your products look good everywhere, which is essential for reaching a wider audience.
Test different approaches
Product photography takes experimentation. Try different lighting, compositions and backgrounds to find out what works best for your products and appeals to your target audience.
Keep learning
Product photography is constantly evolving, so keep up with new trends, techniques and tools. Join online communities, read articles and watch tutorials. Continuous learning will help you improve your skills and create better photos.
Summary
Product photography requires careful planning, attention to detail, technical knowledge and the right equipment. With good lighting, a tripod, thoughtful composition and editing, you can create outstanding images.
A solid grasp of the basics lets you present your products in the best possible way and increase interest from your customers.


